Prerequisites
VAPortal Installation
VAPortal Configuration
Load license information
Setup impersonation for changing
password or Windows Registry
Configure Allowed Domains
Configure VAPortal Log level
Configure VAPortal Bulletins
VAPortal Windows Application Web Publisher Installation Guide
Prerequisites
1. Microsoft .NET 2.0 or newer installed in the Windows Server.
To check if .NET 2.0 already installed, Launch Windows Explorer, then browse to C:\WINDOWS\Microsoft.NET\Framework folder. If there is a folder called v2.0.50727, then .NET 2.0 is already installed. Please download .NET Framework from Microsoft if required.
2. Install IIS (Internet Information Services) 6.0 or later in the Windows Server and enable ASP.NET feature.
To find out if IIS is already installed in Windows Server 2003, open Control Panel > Add or remove programs > Add or remove Windows Components.
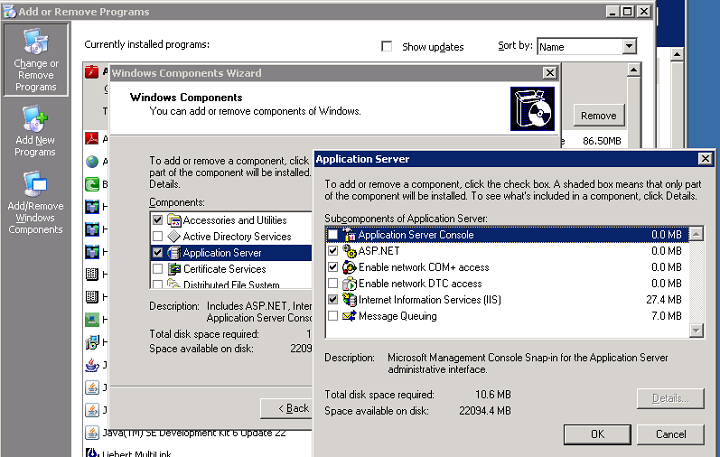
When the Windows Components appears, open “Application Server”, and you will see there is a checked mark near the “Internet Information Services (IIS)” if IIS is already installed, otherwise, check “ASP.NET”, “Enable network COM+ access”, and “Internet Information Services (IIS)”, then click the OK button to install IIS. Please see the screenshot above.
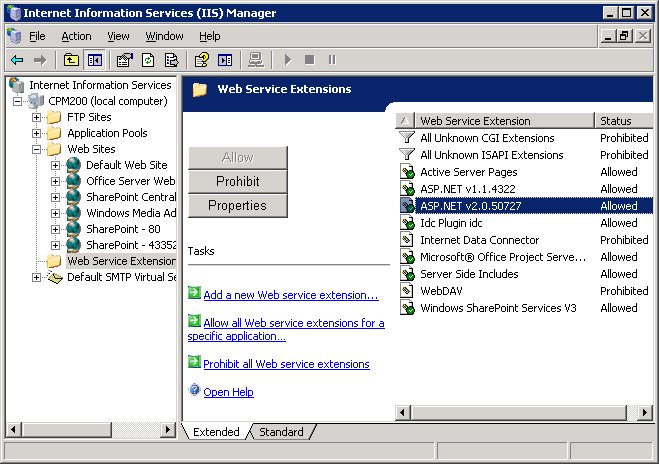
To check if ASP.NET is enabled in IIS, click Control Panel > Administrative Tools > Internet Information Services (IIS) Manager. Then, expand the nodes in the left panel as the screenshot below, select “Web Service Extension”, and you should see the “ASP.NET v2.0.50727” is set to “Allowed”.
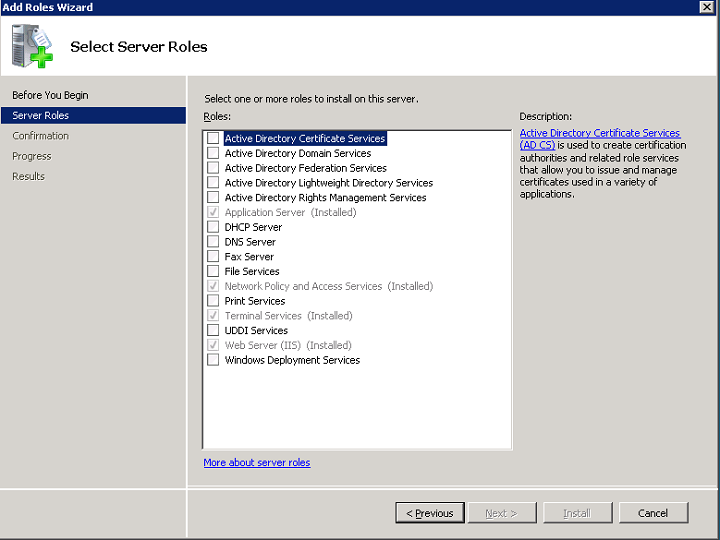
If you are using Windows Server 2008 or newer, open Control Panel > Administrative Tools > Server Manager, then click “Roles” in the left pane, and check the list in the Application Server section. If IIS already installed, you should see it is listed in the Application Server section, see the figure below. If IIS is not there, click “Add Roles” to start the installation processes
3. Install and configure Microsoft Terminal Services (TS).
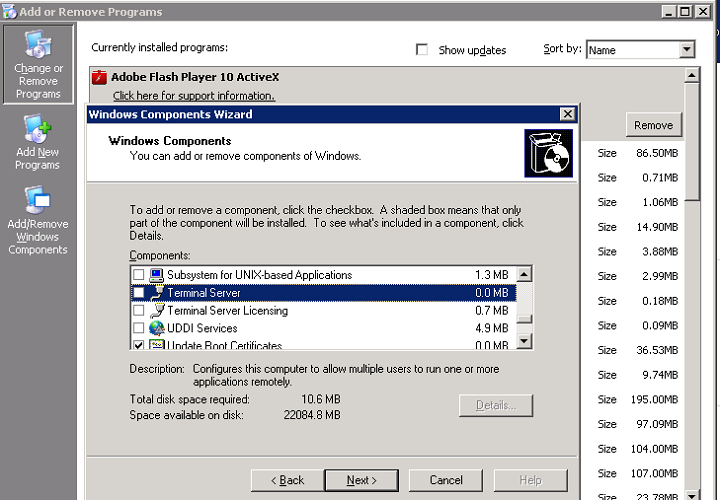
To check if TS is already installed your Windows Server 2003, go to Control Panel > Add or remove programs > Add or remove Windows Components. If the “Terminal Server” is checked, then TS is installed, otherwise, check both “Terminal Server” and “Terminal Server Licensing” components, and click Next to install. See the figure below.
For Windows Server 2008/R2, follow the same steps in point 2 for IIS installation to check TS. See the figure below.
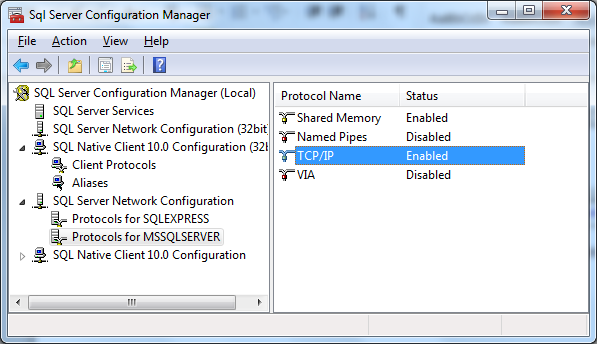
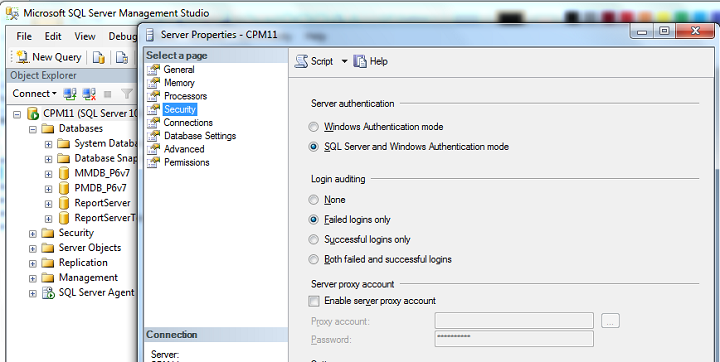
4. Install MS SQL Server 2000 or newer and configure it using Mix-Mode authentication and enable TCP/IP protocol if you plan to use the bulletins feature.
Run SQL Server Configuration Manager, and expand the SQL Server Network Configuration to see if the TCP/IP protocol is enabled. To find if SQL Server is using mix-mode (SQL Server and Windows Authentication mode), launch SQL Server Management Studio, and right click the root node in the Object Explorer pane, then click “Security” tab. See the screenshots below.
VAPortal Installation
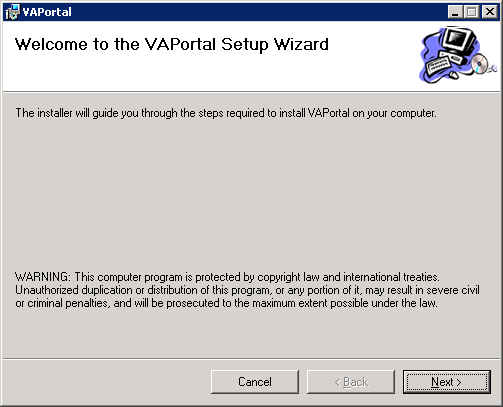
Install VAPortal is simple thing once you’re done the prerequisites. The software comes with setup.exe and setup.msi. You may see a folder called VAPortalPDF, it’s optional and it’s for online PDF creation feature. The setup will detect the VAPortalPDF folder automatically, and if the folder exists, then it will create a printer called Ghostscript PDF in your Windows Server Printer list. Please run setup.exe instead of setup.msi as setup.exe will check your Windows system environment and create necessarily temporary variables to help finish the installation. After you run setup.exe, the Welcome to the VAPortal Setup Wizard appears.
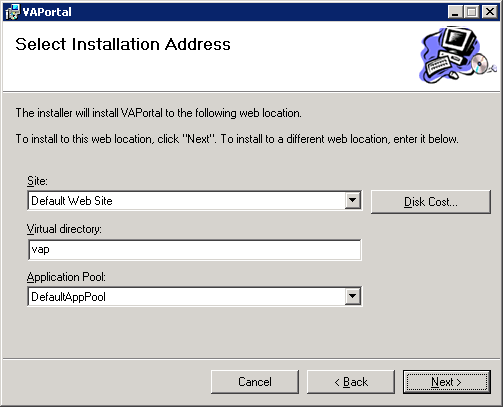
Click Next button, and the screen below appears, the Site dropdown list shows all available sites in IIS, and the Virtual directory field allows you to enter the name being showed in the IIS for VAPortal website, and the Application pool dropdown list shows all available application pools created in IIS. If you like, just keep the default values in that screen, and click Next button.
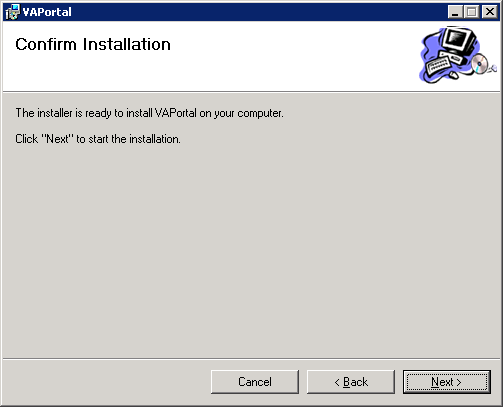
Finally, the Confirm Installation screen appears, click Next button to start the installation.
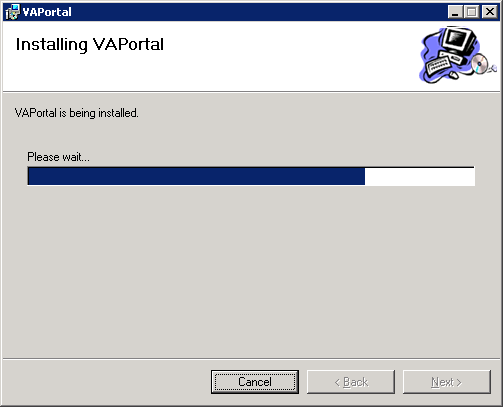
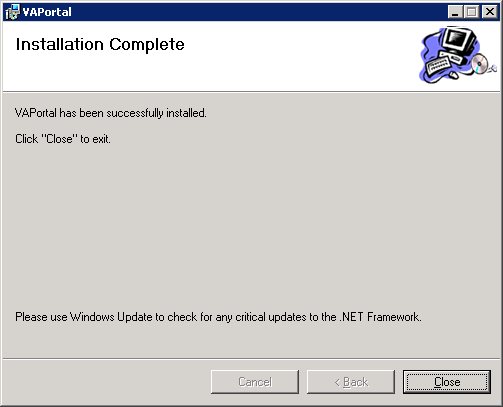
Click Close button to finish the installation.
If the VAPortalPDF folder exists in the same directory as setup.exe, you will see the screen below for installing a printer called Ghostscript PDF in your Windows System.
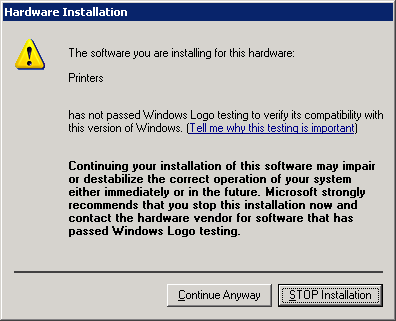
Click Continue Anyway to accept the warning and install the PDF printer.
After finish installation, you can bring in the VAPortal website by clicking Windows Start>All Programs>VAPortal>Go to VAPortal Homepage.

The URL is usually being showed as http://localhost/vap, if you access the VAPortal website from another machine rather than the server you install, please change the localhost to your server name or IP address. For example, if the server name is ALPHA and the IP is 192.168.1.10, then you can enter the URL in your browser like that:
http://ALPHA/vap or http://192.168.1.10/vap
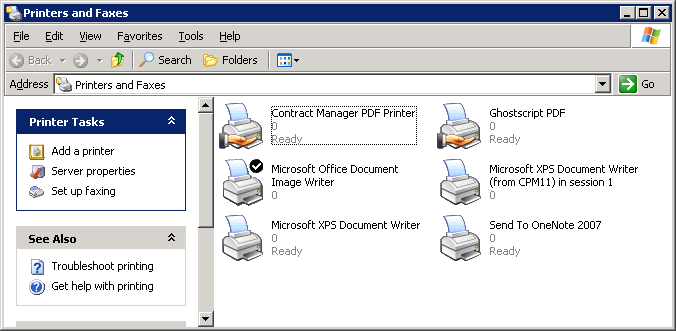
You also see the Ghostscript PDF printer listed in the Printer and Faxes console if the Ghostscript PDF printer driver is successfully installed.
VAPortal Configuration
1. Load license information.
Login to VAPortal using an account with administrative privileges, and you will see a hyperlink called Administer in the top-right corner, click Settings from the menu popup. Now, you can enter your license info in the Product licenses section, see the screenshot below. Don’t forget to save after you change.

2. Set up impersonation for changing password or Windows Registry.
Follow steps in the Load license information above, you can enter an account in the Impersonation Settings section. Please make sure this account have read/write privileges in your Domain Active Directory and Windows registry.3. Configure Allowed Domains for VAPortal.
If your company have more than one domain and you want to limit which domains users can login to, please follow the steps in the Load license information above, and enter the domain list in the Allowed Domains sector.
Configure VAPortal Log level.
VAPorral writes log information in the system for audit and troubleshooting. There are four level logging: DEBUG, INFO, WARN, ERROR. T he DEBUG level generates most messages, and the ERROR level generates least messages. To change the log level, open the file called web.config in your VAPortal installation root path, ie, c:\inetpub\wwwroot\vap. Then look for the section called logging, and change the line with “
Configure VAPortal Bulletins
To use the Bulletins feature in VAPortal, you need to create a SQL Server database and configure VAPortal to use it to store the bulletin message. Login to VAPortal, and click “Bulletins” button, if you never set up a database for the Bulletins, you should see the screen below:
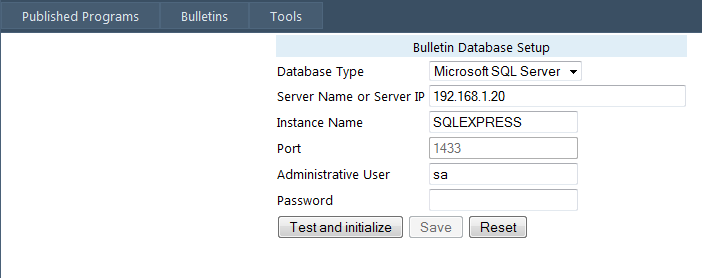
If you select SQL Server from the Database Type dropdown list, you need to enter correct Instance Name, the default is MSSQLSERVER if your SQL Server is standard or Enterprise edition, and if you are using Express edition, the default instance is SQLEXPRESS. Fill out the form, and hit “Test and Initialize” button, and if you get successful message, hit the Save button and the Bulletins feature is ready.